How to Make a Vision Board: Complete Step-by-Step Guide 2026
Creating a vision board is one of the most powerful visualization techniques for manifesting your dreams and achieving your goals. Whether you're looking to advance your career, improve your health, or transform your life, learning how to make a vision board can be the catalyst that turns your aspirations into reality.
In this comprehensive guide, you'll discover everything you need to know about creating an effective vision board, from gathering materials to displaying your finished masterpiece. By the end, you'll have a clear roadmap to create a vision board that truly inspires and motivates you every single day.
What is a Vision Board?
Before diving into the creation process, it's important to understand what a vision board is and why it works. A vision board is a visual representation of your goals, dreams, and aspirations. It's a collage of images, words, and affirmations that represent what you want to achieve or become in your life.
The power of vision boards lies in the science of visualization. When you regularly view images that represent your goals, your brain begins to recognize opportunities and resources that align with those objectives. This process, known as the Reticular Activating System (RAS), helps filter information and focus your attention on what matters most to you.
Materials You'll Need
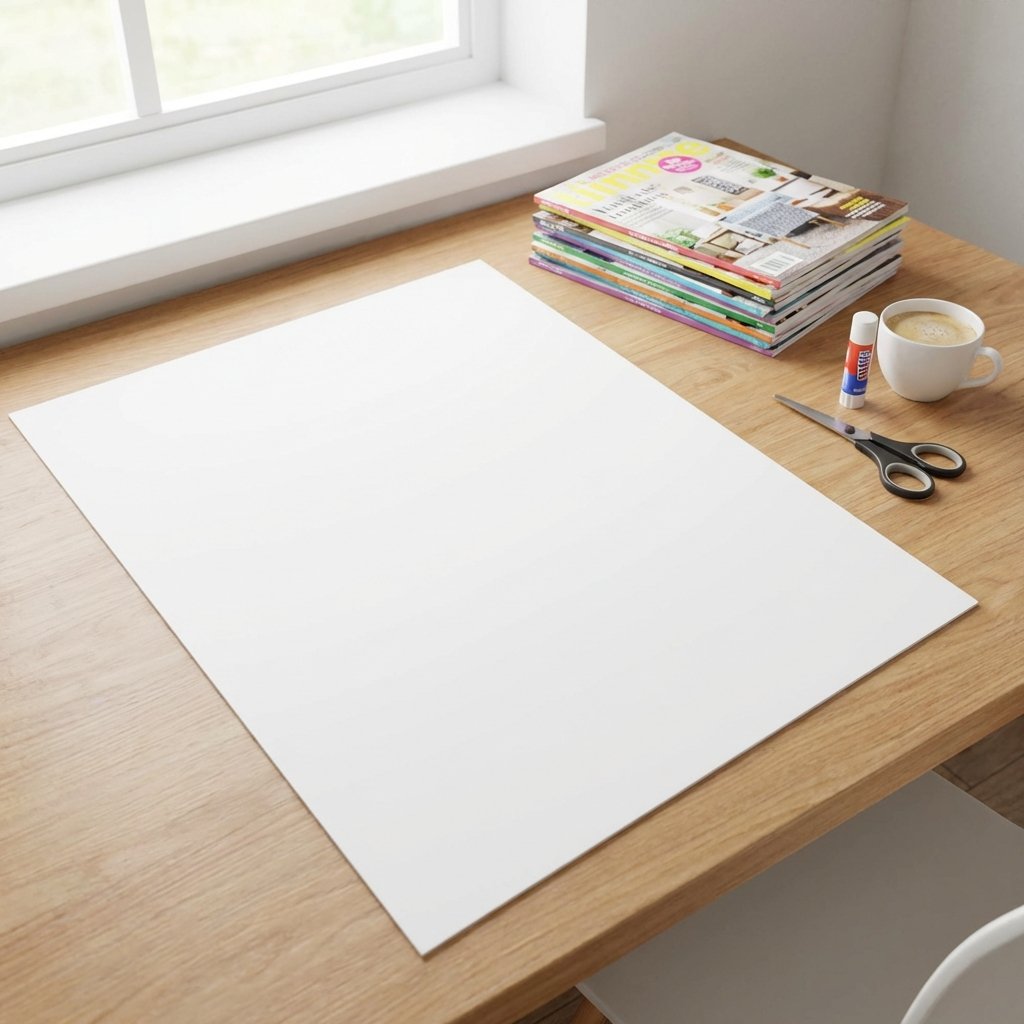
One of the best things about making a vision board is that it doesn't require expensive materials. Here's what you'll need to get started:
Essential Materials:
- Board Base: Poster board, cork board, foam board, or even a large piece of cardboard (20x30 inches is ideal)
- Visual Materials: Magazines, printed photos, personal photographs, or digital images
- Cutting Tools: Scissors or craft knife
- Adhesives: Glue stick, double-sided tape, or push pins (for cork boards)
- Writing Tools: Markers, colored pens, or paint for adding personal touches
Optional Enhancements:
- Decorative elements like stickers, washi tape, or ribbons
- Printed quotes or affirmations
- Fabric scraps or textured materials
- Glitter or metallic accents
- Frame (to protect and display your finished board)
Step-by-Step Guide: How to Make a Vision Board
Step 1: Define Your Goals and Intentions
The foundation of an effective vision board starts with clarity. Before you begin cutting and pasting, take time to reflect on what you truly want to achieve. This introspective process is crucial for creating a vision board that resonates with your authentic desires.
Consider these key life areas:
- Career and Professional Growth: What does success look like in your career? Do you want a promotion, a new job, or to start your own business?
- Health and Wellness: What are your fitness goals? How do you want to feel physically and mentally?
- Relationships: What kind of relationships do you want to cultivate? This includes romantic, family, and friendships.
- Financial Goals: What does financial freedom mean to you? (Check out our Budget Tracker Guide for financial planning tips).
- Personal Development: What skills do you want to learn? What kind of person do you want to become?
- Travel and Experiences: Where do you want to go? What experiences do you want to have?
Write down your goals for each area. Be specific and use positive language. Instead of "I don't want to be stressed," write "I am calm and peaceful." This positive framing is essential for effective manifestation.
Goal Deconstructor
Step 2: Gather Inspiration and Materials
Now comes the fun part – collecting visual materials that represent your goals. This is where your vision board starts to take shape.
Where to Find Images:
- Magazines: Lifestyle, travel, fitness, business, and home décor magazines are goldmines for vision board materials
- Online Sources: Print images from websites like Unsplash, Pexels, or Pinterest
- Personal Photos: Include your own photos that represent happy memories or desired experiences
- Catalogs: Home, fashion, and travel catalogs offer great imagery
- Printed Quotes: Search for inspirational quotes online and print them in attractive fonts

What to Look For
As you browse through materials, ask yourself: "Does this image make me feel excited? Does it represent where I want to be?" Trust your intuition. If an image resonates with you emotionally, it belongs on your board.
Step 3: Select and Cut Out Your Images
Once you've gathered your materials, it's time to curate your selection. Don't feel pressured to use everything you've collected. Quality over quantity is key when creating a vision board.
Selection Tips:
- Choose images that evoke strong positive emotions
- Include a mix of specific goals (like a specific car model) and feeling-based images (like people laughing together)
- Select words and phrases that inspire and motivate you
- Aim for 15-25 images to avoid overcrowding your board
- Include at least one image for each major life area you identified in Step 1
Cut out your selected images carefully. You can cut precisely around the edges or create interesting shapes. Some people prefer clean, rectangular cuts, while others like organic, flowing shapes. Choose what feels right for your aesthetic.
Step 4: Arrange Your Vision Board Layout
Before you start gluing, lay out all your images on your board. This allows you to experiment with different arrangements and ensure a balanced, visually appealing composition.
Layout Strategies:
- Sectioned Approach: Divide your board into sections for different life areas (career, health, relationships, etc.)
- Central Focus: Place your most important goal in the center and arrange other images around it
- Organic Flow: Create a free-flowing collage without strict boundaries
- Grid Pattern: Arrange images in a neat grid for a clean, organized look
- Layered Effect: Overlap images for depth and visual interest
Step 5: Attach Your Images and Add Personal Touches
Once you're happy with your arrangement, it's time to make it permanent. Start from the center or background and work your way out, carefully gluing each piece in place.
Attachment Methods:
- Glue Stick: Best for paper-to-paper adhesion, clean and easy to use
- Double-Sided Tape: Great for heavier materials or if you want a flatter finish
- Push Pins: Perfect for cork boards and allows for easy rearrangement
- Mod Podge: Creates a sealed, professional finish and adds durability
After attaching your main images, add personal touches:
- Write affirmations or goals directly on the board with markers
- Add decorative elements like borders, stickers, or washi tape
- Include important dates or deadlines for specific goals
- Draw symbols or doodles that have personal meaning
- Add your name or a personal motto
Step 6: Display and Activate Your Vision Board
Your vision board is only effective if you see it regularly. The key to manifestation is consistent visualization and emotional connection to your goals.
Best Placement Locations:
- Bedroom: Place it where you'll see it first thing in the morning and last thing at night
- Home Office: Keep it visible while you work to maintain focus on your goals
- Bathroom Mirror: Attach a smaller version for daily affirmations
- Closet Door: A private location that you see multiple times daily
- Digital Wallpaper: Use a photo of your board as your phone or computer background
Ready to Create Your Digital Vision Board?
Try our free online vision board maker with drag-and-drop functionality, customizable templates, and instant PDF download.
Create Your Vision Board Now →How to Use Your Vision Board Effectively
Creating your vision board is just the beginning. To maximize its power, you need to engage with it regularly and intentionally.
Daily Visualization Practice
Spend 5-10 minutes each day looking at your vision board. Don't just glance at it – really engage with the images:
- Close your eyes and visualize yourself achieving each goal
- Feel the emotions associated with success
- Imagine the details: what you see, hear, smell, and feel
- Express gratitude as if you've already achieved your goals
Take Inspired Action
A vision board is a tool for focus and motivation, not magic. You must take action toward your goals:
- Break down big goals into smaller, actionable steps
- Set deadlines and create accountability
- Review your progress monthly and adjust your approach as needed
- Celebrate small wins along the way
Update Your Board
Your goals and dreams may evolve over time, and that's perfectly normal. Update your vision board:
- When you achieve a goal (celebrate and add new ones!)
- At the start of each new year
- When your priorities shift
- Every 6-12 months for a fresh perspective
Tips for Maximum Vision Board Success
Expert Tips
- Include Yourself: Add photos of yourself to help your brain visualize YOU achieving these goals
- Use Present Tense: Write affirmations as if they're already true: "I am" instead of "I will be"
- Make It Beautiful: A visually appealing board is more enjoyable to look at daily
- Trust the Process: Some goals manifest quickly, others take time. Stay patient and committed
- Share Selectively: Only share your vision board with supportive people who believe in your dreams
- Combine with Action Plans: Use your vision board alongside practical goal-setting tools like our project planning templates
Start Creating Your Vision Board Today
Learning how to make a vision board is a transformative process that goes beyond simple crafting. It's about getting clear on your desires, visualizing your future, and taking intentional steps toward the life you want to create.
Remember, there's no "perfect" way to make a vision board. The most important thing is that it resonates with you and inspires you to take action. Whether you choose a physical board covered in magazine cutouts or a sleek digital version, what matters is your commitment to the process and your willingness to dream big.
Your vision board is a living document of your aspirations. As you grow and evolve, so will your goals. Embrace the journey, celebrate your progress, and watch as your vision board helps transform your dreams into reality.